Digital tape measures are gaining popularity among homeowners and DIY enthusiasts for their advanced features. Unlike traditional steel tape measures, they provide a digital readout, offering improved accuracy, ease of use, and time-saving benefits. In this article, we’ll provide a comprehensive usage guide of using a digital tape measure for home improvements, and offer tips for selecting and maximizing its efficiency. Whether you’re a seasoned DIYer or a novice, a digital tape measure ensures precise measurements and professional results for your upcoming projects.
Factors to consider when choosing a digital tape measure for a home improvement project
When choosing a digital tape measure for home improvement, there are several key factors to consider:
Range
Determine the maximum distance you need to measure accurately for your projects. Choose a digital tape measure with a suitable range for your needs, considering larger projects may require a longer range.
Accuracy
Look for a digital measurement tape with high accuracy, ideally with a margin of error less than 1/16 inch. Consider models that offer reliable accuracy across various lighting conditions.
Laser technology
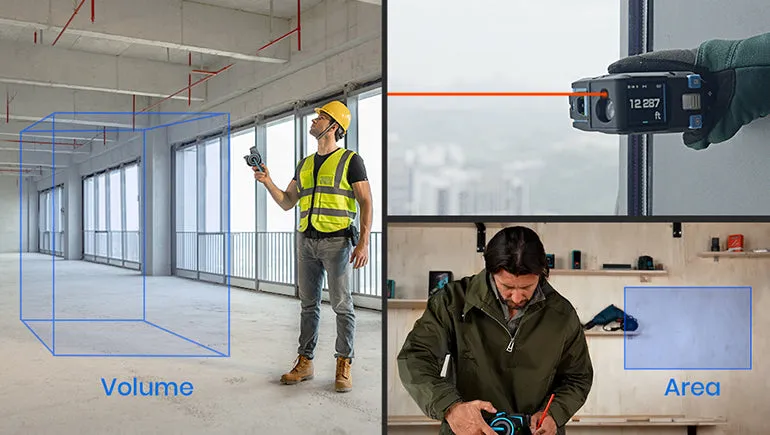
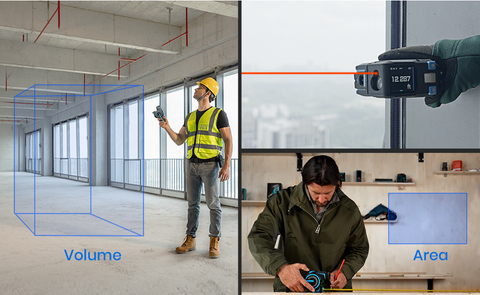
Opt for a digital tape measure with laser measuring technology. This enables fast and precise measurements without physical contact, which is particularly useful for inaccessible points and enhances safety in complex job sites. The laser technology many times not only works for distance measurement but serves well for leveling and alignment.

Display
Ensure the tape measure has a clear and easy-to-read display, preferably with a backlit feature for visibility in different lighting conditions. Look for a digital tape measure with auto-screen rotation to maintain the right screen orientation based on your hand-held style.
Memory
If you anticipate the need to store multiple measurements for later reference, consider models that include a memory function.
Digital Level
Since home improvement involves lots of leveling and alignment work, it is essential to pick a digital tape measure with a digital level. This feature could be applied together with laser technology for various leveling and alignment applications such as aligning pictures or artwork, installing tiles or flooring, and leveling shelves or cabinets.
Durability
Choose a digital tape measure built to withstand the demands of home improvement projects. Look for sturdy construction and a protective casing to guard against drops and bumps. Also, check the battery life for long-lasting performance.
How to use a digital tape measure for home improvement projects
Step 1: Choose the right digital tape measure for your project, considering factors such as range, accuracy, LASER MEASURING technology, display, memory, and durability.
Step 2: Access the desired measuring function on the digital tape measure, such as distance, area, volume, or Pythagoras.
Step 3: Select the unit of measurement you need, such as feet, inches, or meters, depending on the digital tape measure options.
Step 4: Select the appropriate measuring mode based on your needs. It is recommended to use a digital tape measure with laser measuring technology for more versatile applications. Switch to laser measure mode when measuring the stance to inaccessible points, and switch to tape measure mode for shorter distances. If you need to level or align a particular object, consider combining the features of laser measure and digital level together.
Step 5: When using the laser mode, aim the laser beam perpendicularly at the target surface to maximize accuracy. If you’re measuring a reflective surface like a mirror or window, use a target plate, a small reflective surface placed on the target to make the laser beam visible.
Leave a Reply